Getting Access to a Cluster
Everything you need before you can build: an account, your first login, the right URLs, and an API token.
Every RUAL cluster is its own secured environment. Before you can open RUAL Studio or call a cluster API, an administrator of that cluster needs to create an account for you. This guide walks you through getting credentials, signing in for the first time, and setting up your development environment.
1. Obtain Cluster Credentials
RUAL clusters do not have public sign-up. Accounts are created by an existing administrator through User Access Management (UCM), who also decides which permissions your account gets.
- Contact an administrator of the cluster you want to work on and request an account. If you are new to the organization and don't know who manages the cluster, ask the person or team that invited you to the project.
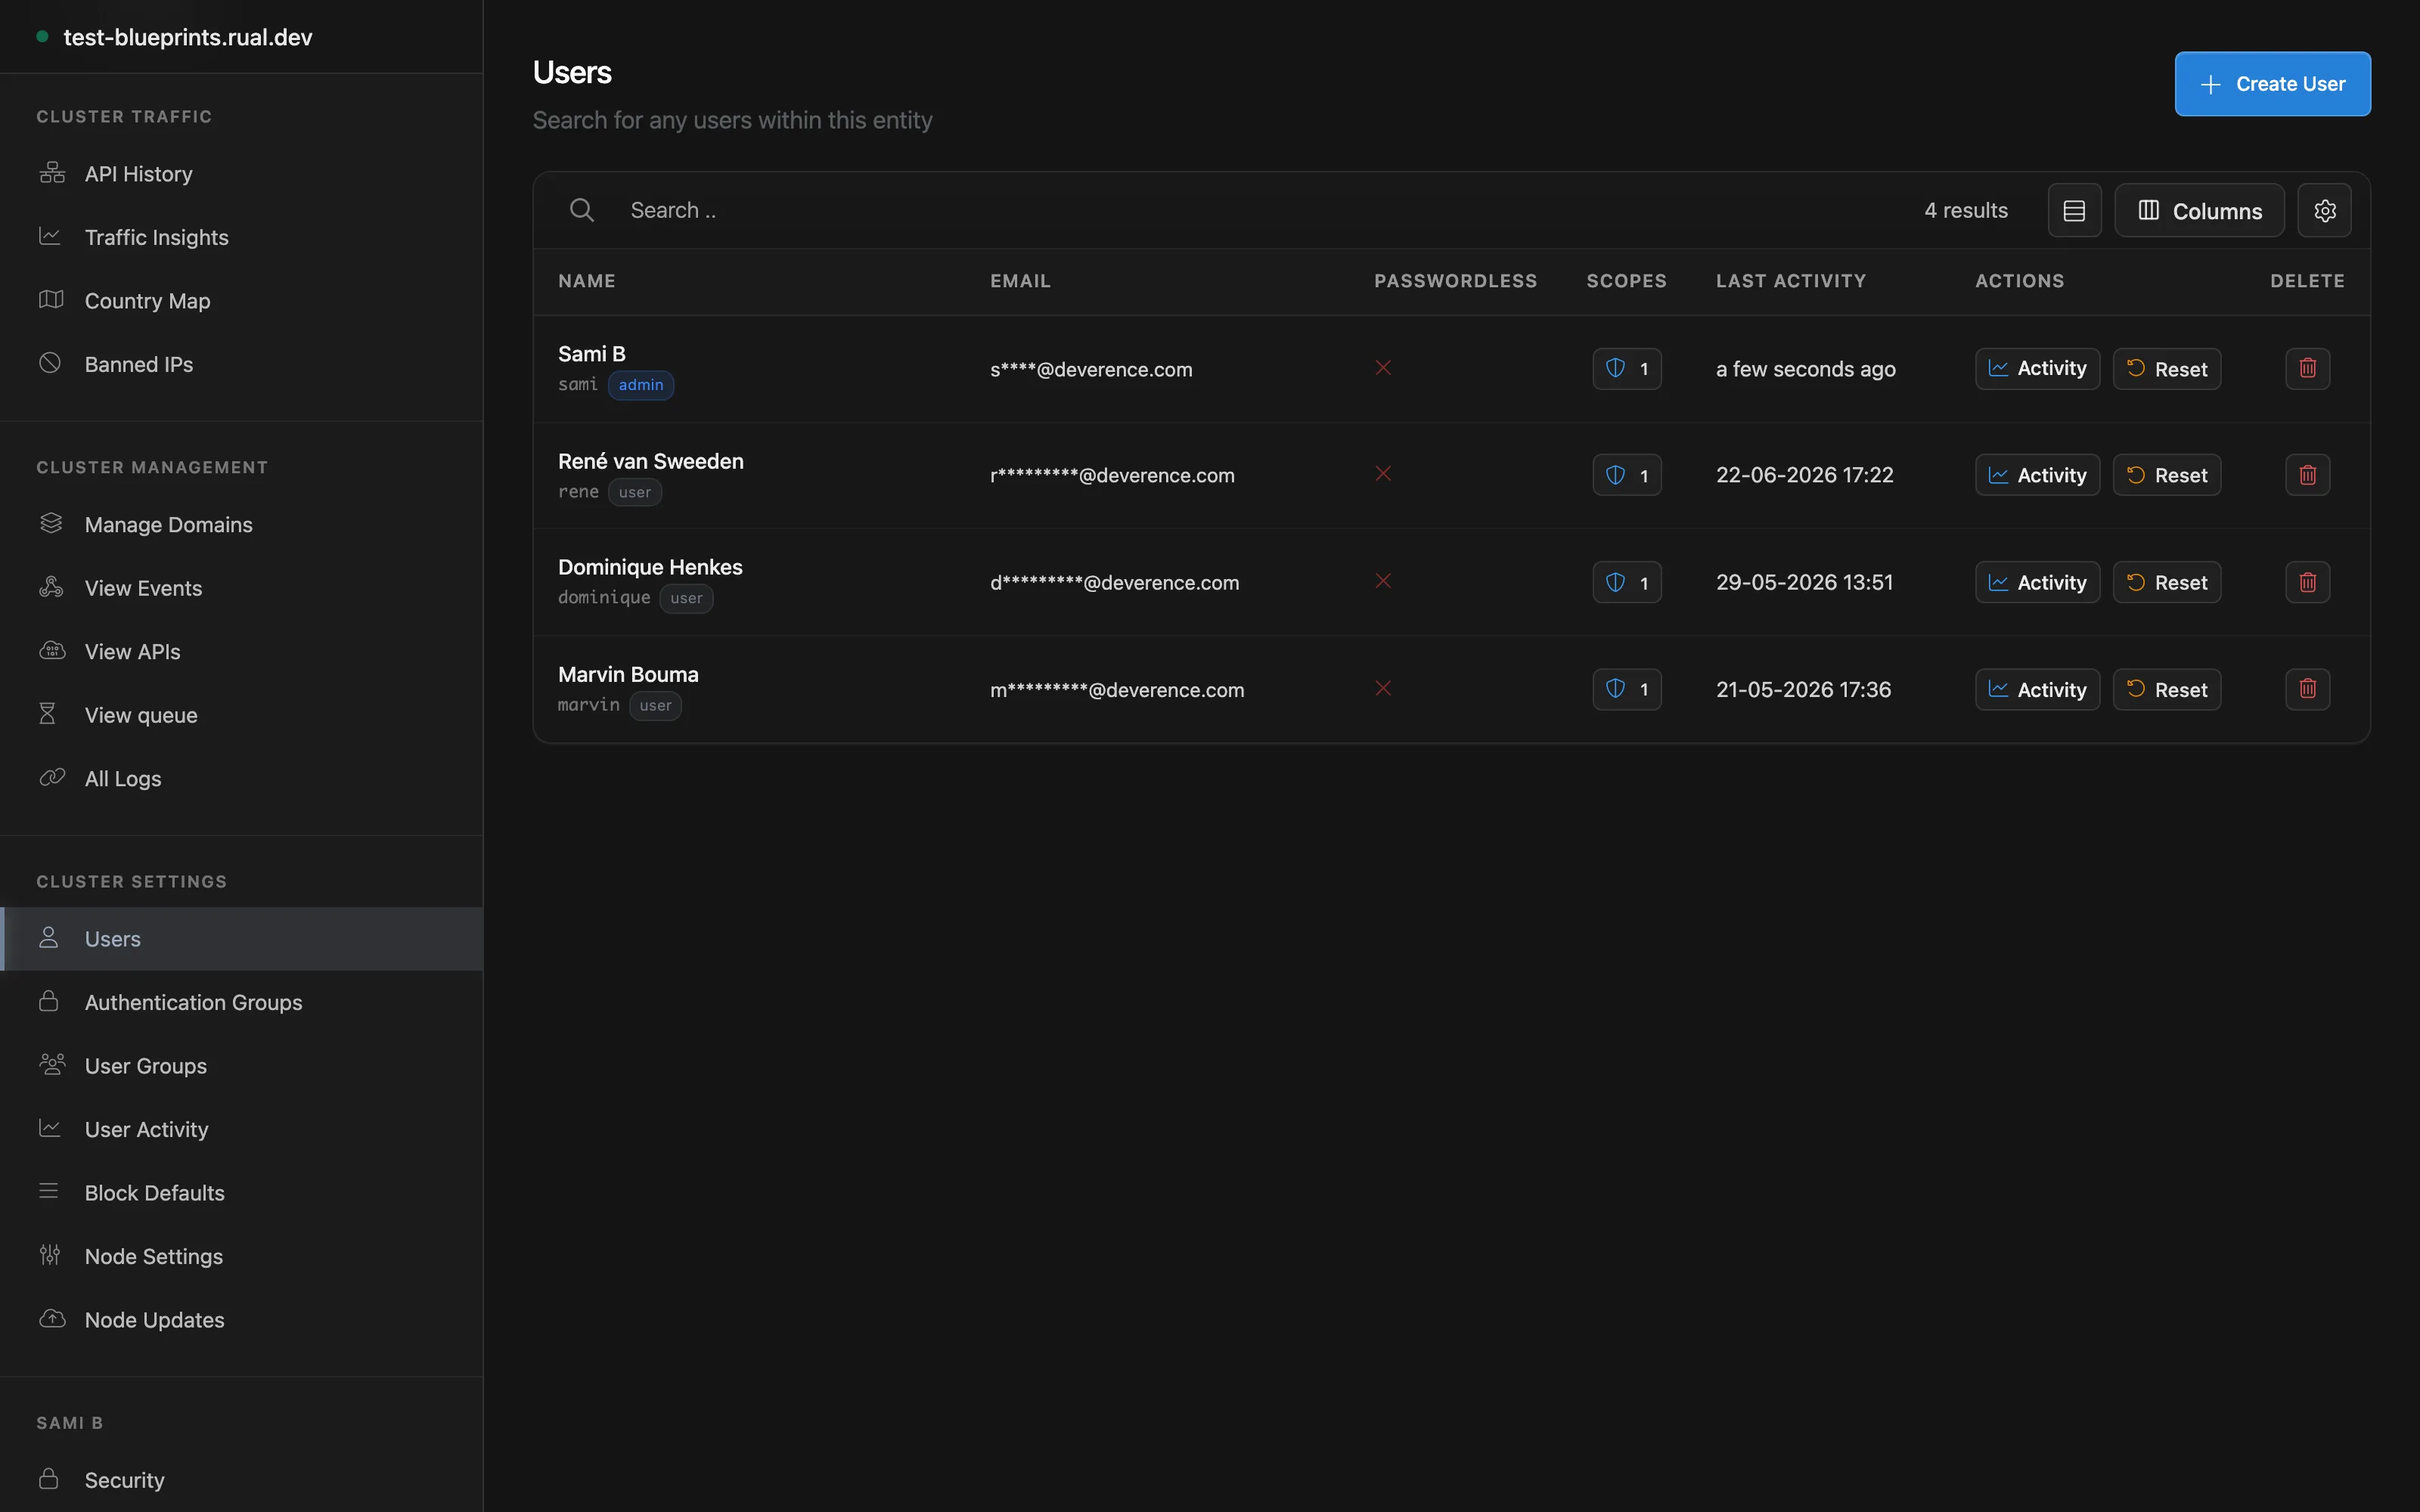
- The administrator creates your user in the
All userssection of RUAL Studio and assigns the appropriate permissions for your role. - You receive three things: the cluster URL, your username, and a password. Keep these private. They identify you in the cluster's audit log.
2. First-Time Login
- Open your cluster URL in a browser. You are greeted by the cluster login screen.
- Enter your username and password and sign in.
- Depending on how your cluster is configured, you may be asked to change your password or set up two-factor authentication on first use. Follow the on-screen instructions.
- After signing in you land in RUAL Studio, where the available menu items reflect the permissions on your account.
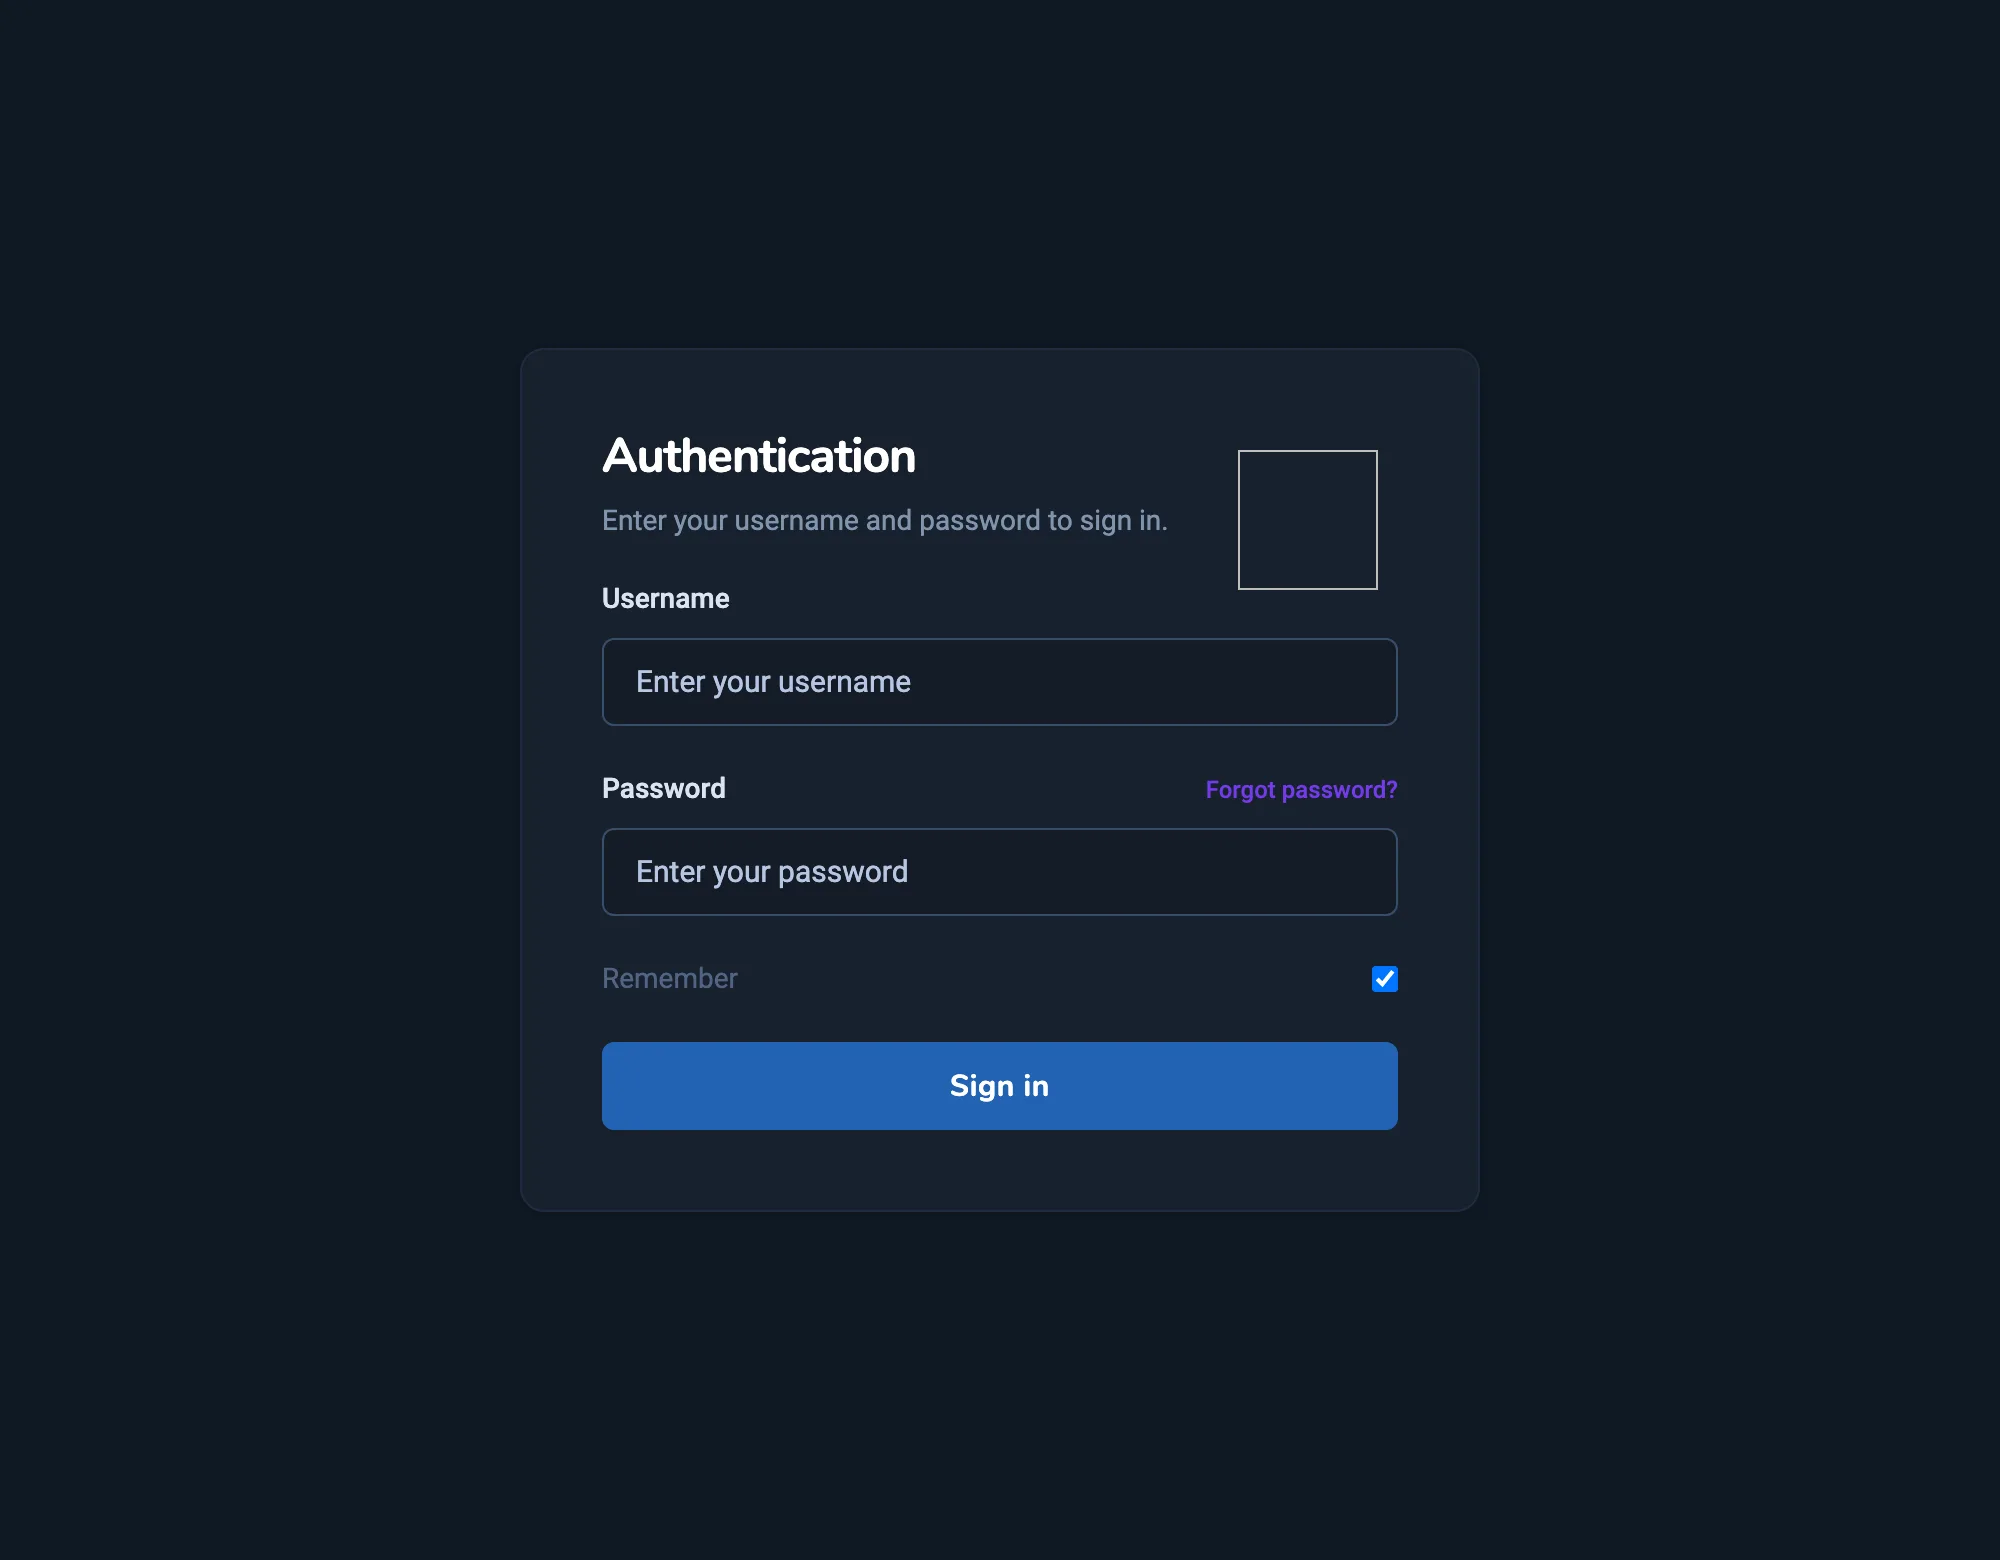
?studio=request to the URL to regain access to the default login page. See Overwrite Default Pages for details. 3. Understanding Cluster URLs
You will work with two kinds of URLs: the RUAL Studio application, and your own cluster URL that serves the pages, apps, and APIs you build.
| URL | What it serves |
|---|---|
| rual.at | RUAL Studio. The cluster management application where you build blueprints and manage your cluster. |
<cluster-url> |
The production view of your cluster: the deployed pages and APIs your end users see. |
<cluster-url>?development |
The development view. When logged in with a RUAL Developer User account, you see the non-deployed version of pages; RUAL Studio redirects you to this view automatically. |
<cluster-url>?studio=request |
Forces the default login page, used to recover from a broken custom login page. |
Saving work in a blueprint never affects production. Changes only reach the production URL after an explicit deploy.
4. Setting Up Your Development Environment
RUAL runs in the cloud, so there is nothing to install. You need three things:
- A modern web browser.
- Your cluster URL.
- Your username and password.
There are two distinct ways to work with a cluster, and it helps to separate them early:
| Access type | Used for | Authenticated by |
|---|---|---|
| RUAL Studio access | Building blueprints, managing users, storage, and deployment through the browser. | Username and password authorized for RUAL Studio Access. |
| API access | Calling cluster APIs from custom frontends, scripts, or external services. | An access_token obtained through the login APIs. |
To get an API token, a user logs in through the login APIs of the cluster, which return an access_token. Tokens are valid for 14 days and are extended automatically while actively used. You can pass a token as an Authorization: Bearer header, as x-authtoken or x-token, as a cookie named access_token, or in the URL as ?access_token=. See Cluster APIs for the full authentication reference.
5. Roles & Permissions
What you can see and do in a cluster is controlled by scopes. Administrators add scope values to the custom_scopes array on your user document, or assign you to user groups that bundle scopes for a role such as Sales or Support. Additional account settings: for example is_root_user for cluster administrators, control security-sensitive behavior. The full permission list is documented in User Access Management.
Security best practices for administrators and users alike:
- Least privilege: grant only the scopes a user needs for their role, preferably through user groups instead of individual scopes.
- Protect credentials: treat passwords and access tokens as secrets; never commit them to code or share them between users.
- Use the audit log: sensitive actions such as removing blueprints and accessing secured system settings are logged: review the log regularly.
Next Steps
Quickstart Build your first working flow on the cluster in minutes. Core Concepts Learn the key ideas behind RUAL: blueprints, blocks, flows, storage, and deployment. User Access Management Full permission list, user groups, and account security settings.Frequently asked
How do I get access to a RUAL cluster?
RUAL clusters have no public sign-up. An existing administrator creates your account in User Access Management and assigns the permissions for your role. You then receive three things: the cluster URL, your username and a password.
I lost my RUAL cluster URL, where do I find it?
The cluster URL is issued together with your account, so ask an administrator of that cluster. Every cluster is its own secured environment, and the URL identifies which one you are signing in to.